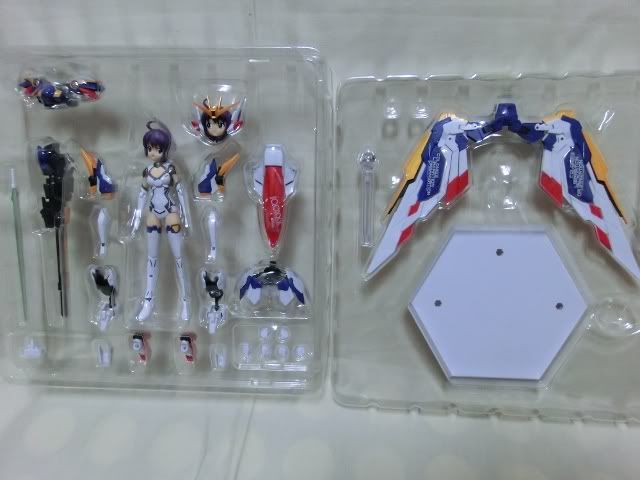
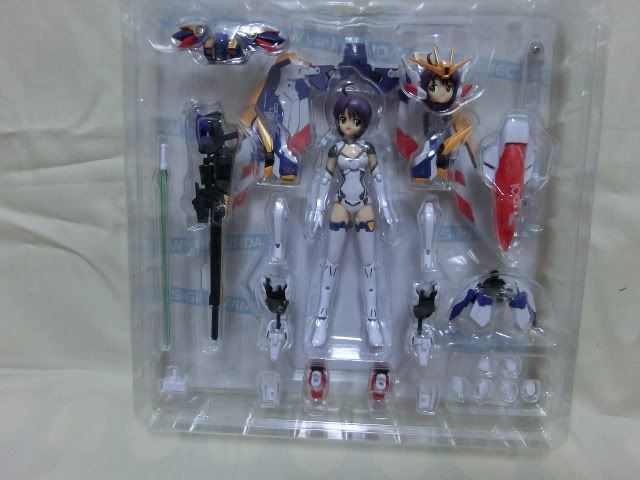
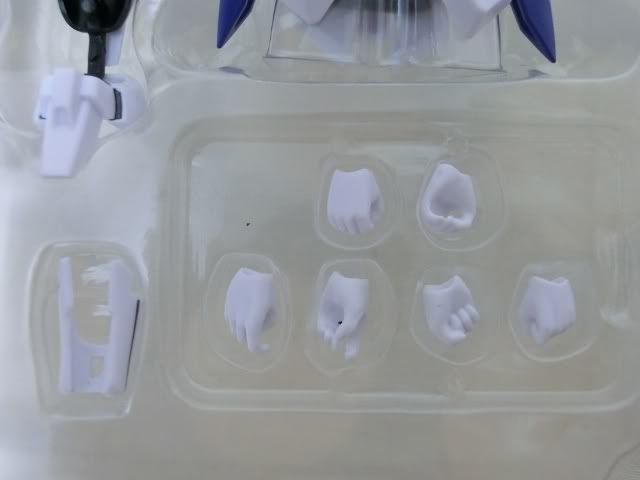
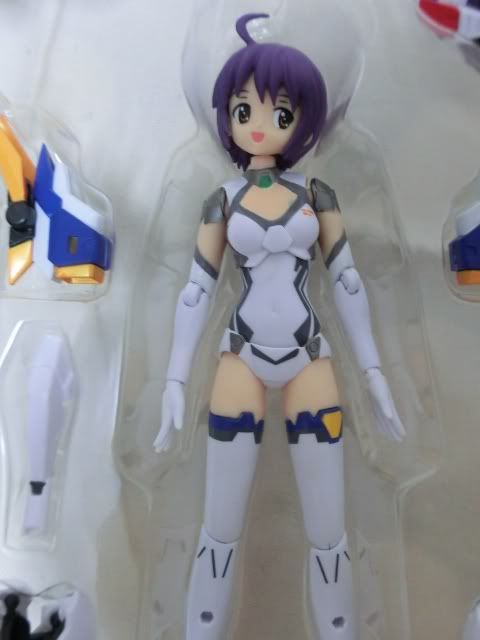
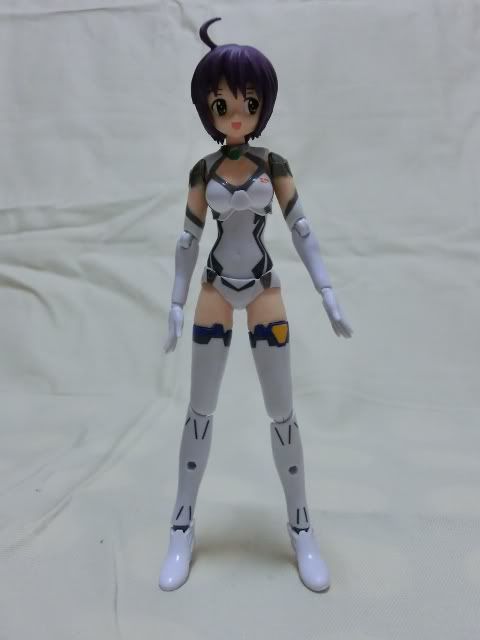
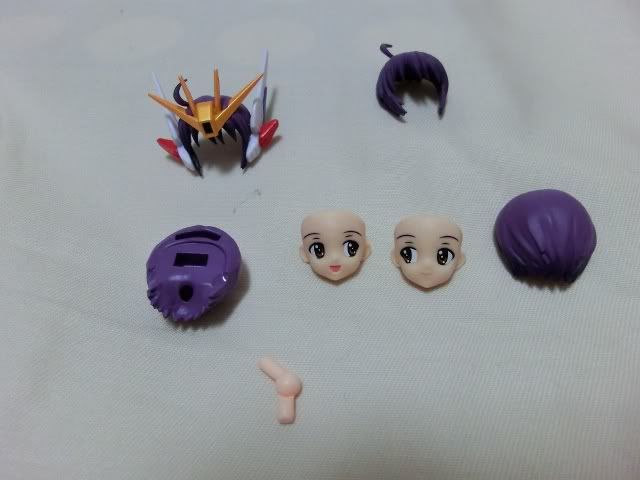
The figure herself made of PVC & so far I didn't notice any ratchet joint except there is one for the display base. A few quick view of the figure & the armor. Before I forget, the armors are made by material similar to gunpla plastic. So if your hand is itchy, it can be panel lined & I might try it later. From the package, 2 heads with 2 different facial expression, 6 sets of hands, 1 beam rifle, 1 shield, 1 beam saber & Gundam Wing (EW ver) armors pieces (chest, skirt, hand, shoulder, leg, feet, v-fins & wings).
She can stand on her own without support from the stand. I try a few times to do it right.
To put up the armor are kind of time consuming, it is not complicated just the armor pieces are to small for my huge fingers. The armors shall be put up in sequences & mind you, to swap hands after armor on is a tough job.
The face can be swap in between two heads with or without v-fins. This is very straight forward.
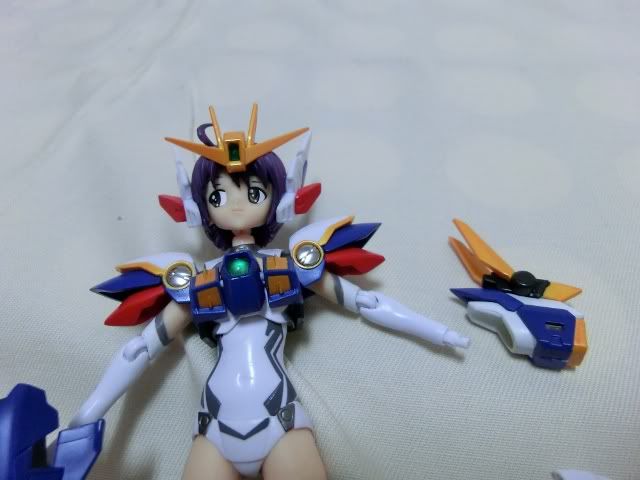
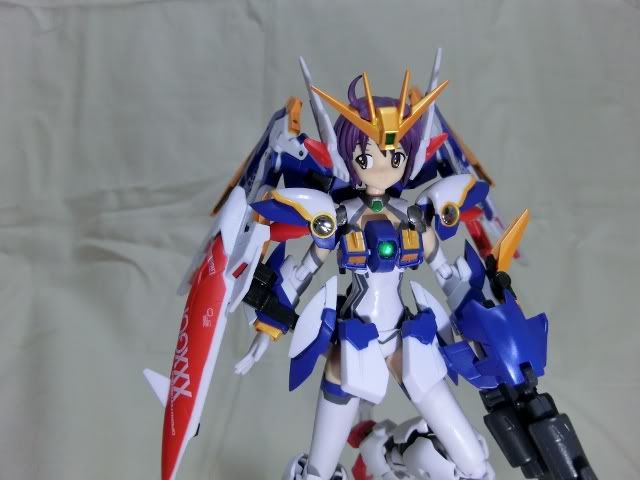
For the chest armor, the front can be unbuckle & wear around the chest area & buckle it up again.
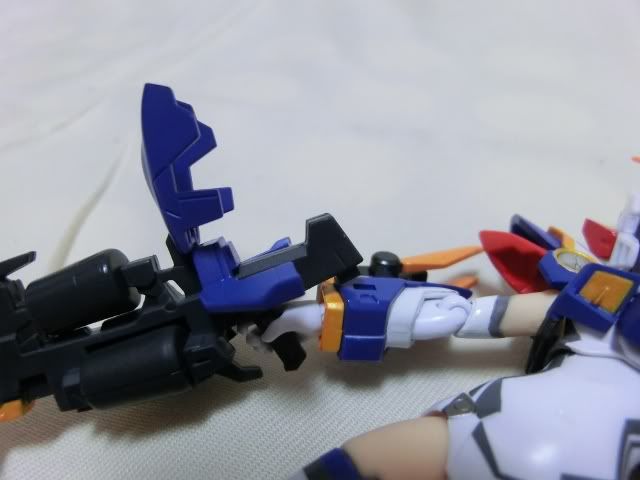
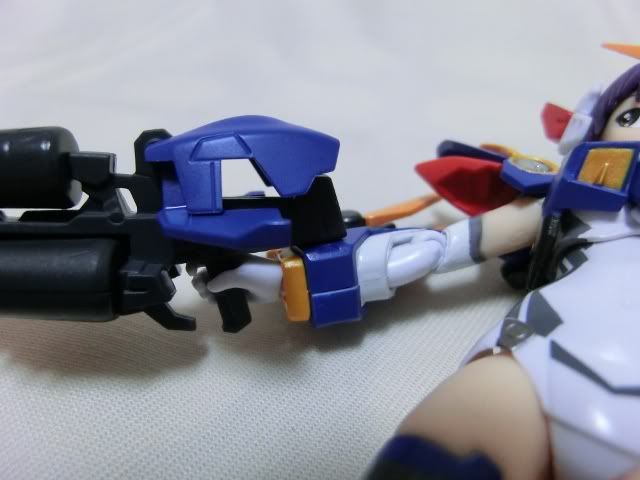
The hand have to be remove to slide up the arms armor in. There is a peg hole to secure the beam rifle & shield.
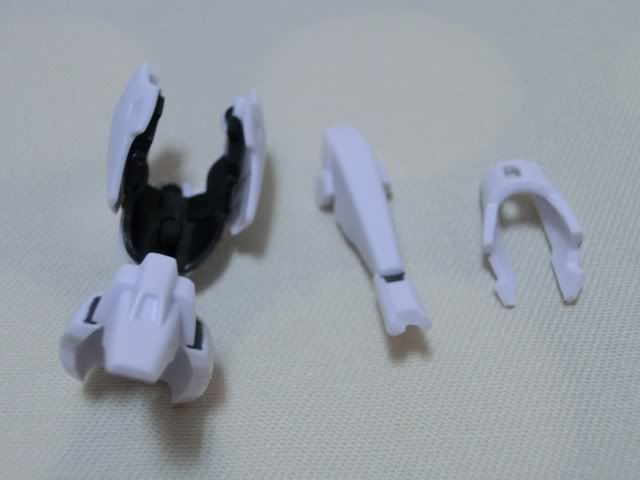
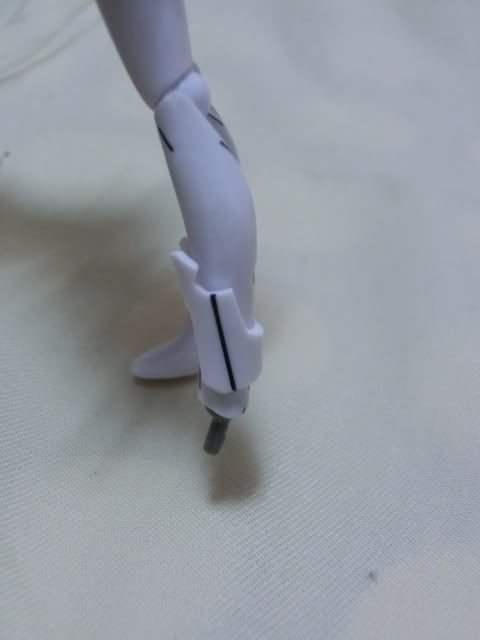
Waist armor is the easiest to put on but also the easiest to loosen up. All it does just wear the armor around her waist & push the peg into the hole behind her. Leg armors are the most time consuming until I forget to capture the process. First the sleeve need to be slide in on before the rest can be put on.
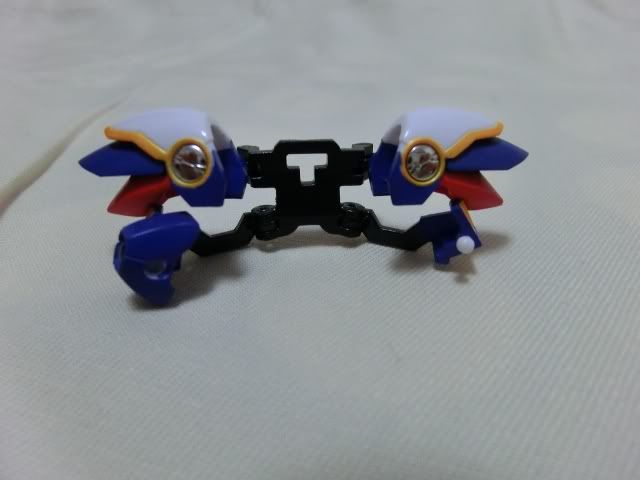
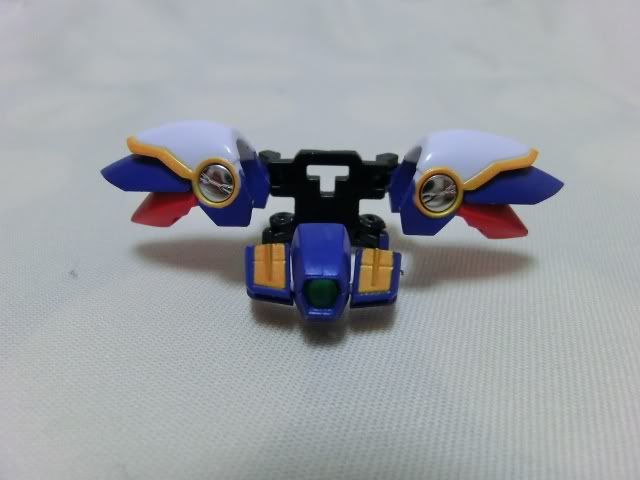
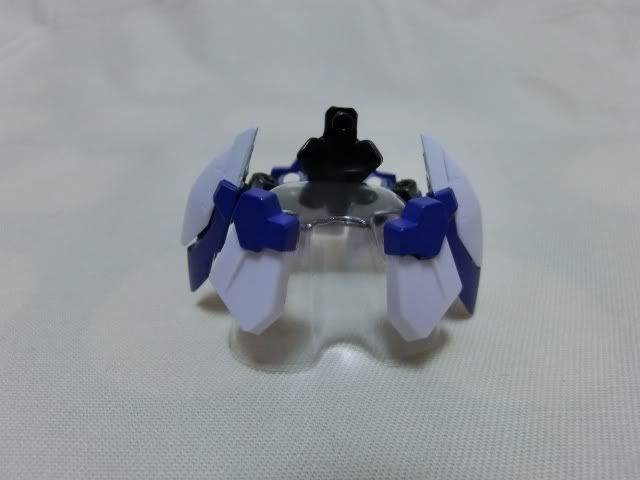
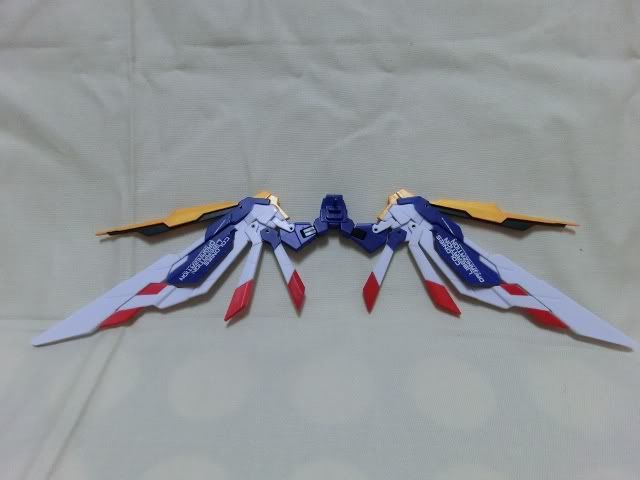
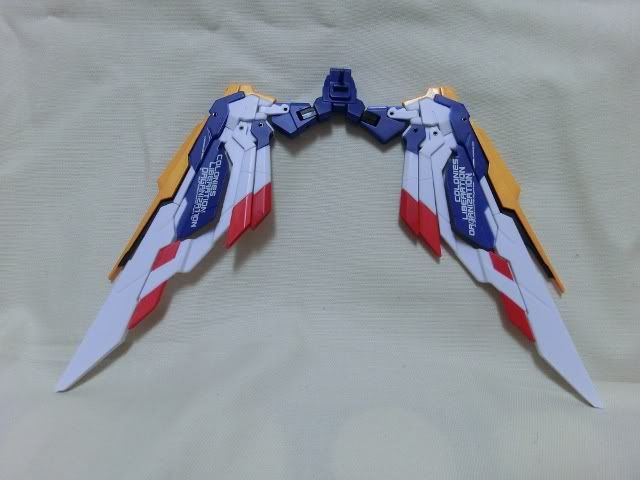
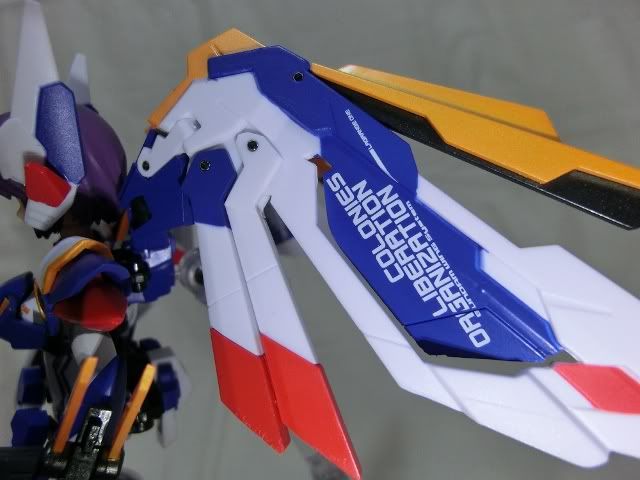
Finally the wing. There is a mechanism build in which enable the wings to be spread open. To hook up onto her, just push the peg into the hole behind her back. It had to be done with the tip of the wings pointing upwards & once install, it had to be rotated down.
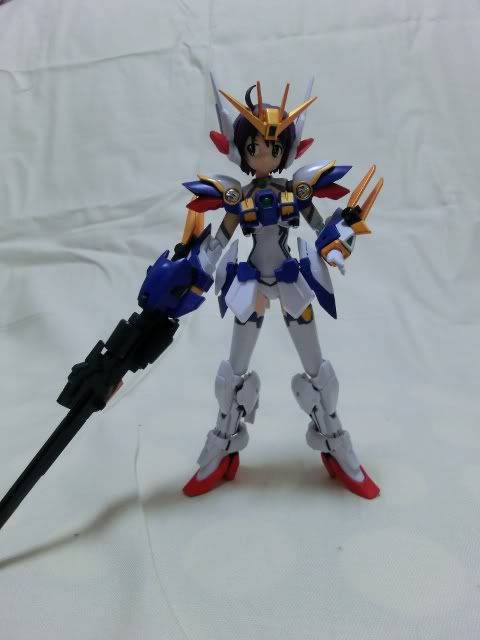
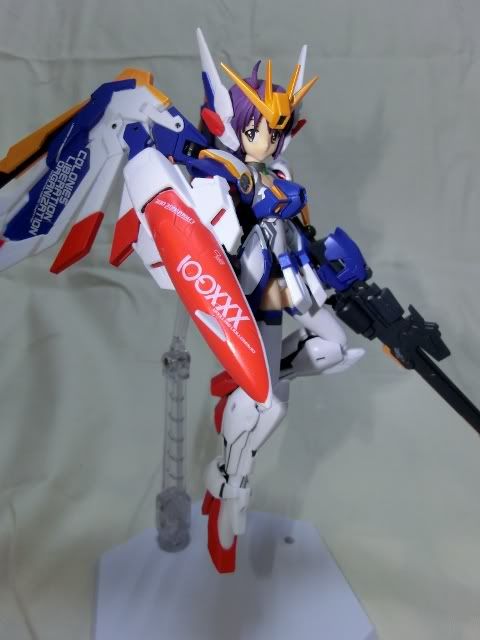
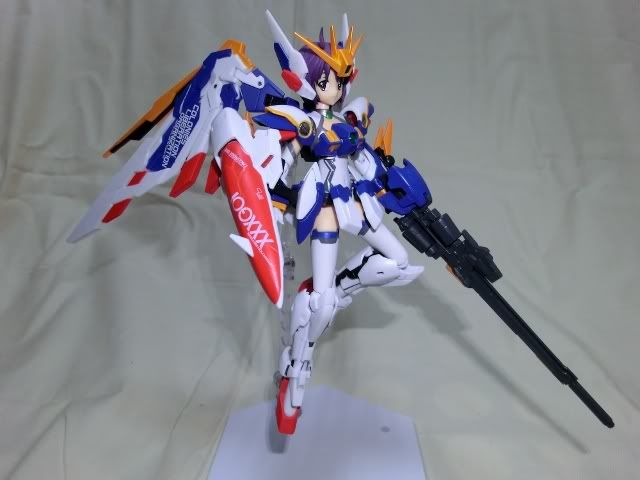
Once equipped, she still can stand on her own. Well kind of supported by her beam rifle.
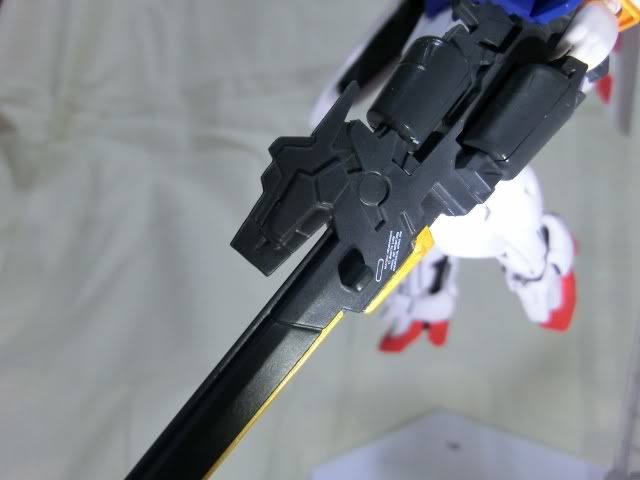
Oh, before to final posing I need to point out the markings are nicely done.
Last & not least, posing shot.


No comments:
Post a Comment